[開發] 建立自己的 Nexus Repository
🍋 爸在法國擔任資料工程師的時候,頻繁地使用過 Nexus 這個資源庫倉儲系統,那時候使用 Nexus 主要的原因是因為在一間大公司裡面,常常各個部門之間的專案是互相依賴的,此時為了建置 CICD 的管理機制,他們會導入 Nexus 這樣的系統來分享自己編譯好的 Jar 檔(如果是 Java, Scala 的開發環境),所有使用過 Maven 編譯的開發者應該會 nexus 也不陌生,很多著名的專案都是利用 Nexus 這樣的系統在分享他們的開源程式,例如 Apache Spark 等等,那時候🍋 爸主要是使用為主,本篇要介紹如何部署屬於自己的 Nexus Repository ?
安裝 Nexus 到 Ubuntu 上面
安裝的方法參考 https://epma.medium.com/install-sonatype-nexus-3-on-ubuntu-20-04-lts-562f8ba20b98 主要分成以下幾個步驟:
下載 Nexus 原始碼:
cd /opt
wget https://sonatype-download.global.ssl.fastly.net/repository/downloads-prod-group/3/nexus-3.31.1-01-unix.tar.gz
wget https://sonatype-download.global.ssl.fastly.net/repository/downloads-prod-group/3/nexus-3.29.2-02-unix.tar.gz
由於🍋 爸是使用 Azure App Service 來部署 Nexus 所以考慮到資料在 Web App 重啟的時候保存的安全性,所以將壓縮檔放到 /opt 下面。
解壓縮:
cd /opt
tar -xvf nexus-3.29.2-02-unix.tar.gz
mv nexus-3.29.2-02-unix nexus
網路設定參考:
由於 Azure Web App Services 會自動監看 80 port 是否有服務來決定是否成功啟動 web app container,所以 Nexus 必須要跑在 80 port 上面,記得將 nexus-default.properties 裡面的 application-port 改成 80。
vim /opt/nexus/etc/nexus-default.properties

application-port=80
application-host=0.0.0.0
nexus-args=${jetty.etc}/jetty.xml,${jetty.etc}/jetty-http.xml,${jetty.etc}/jetty-requestlog.xml
nexus-context-path=/

nexus-edition=nexus-pro-edition
nexus-features=\
nexus-pro-feature

nexus.hazelcast.discovery.isEnabled=true
啟動 Nexus:
透過以下的設定,可以把 nexus 註冊成一個 systemctl 的服務。
sudo vim /etc/systemd/system/nexus.service

[Unit]
Description=nexus service
After=network.target
[Service]
Type=forking
LimitNOFILE=65536
User=nexus
Group=nexus
ExecStart=/opt/nexus/bin/nexus start
ExecStop=/opt/nexus/bin/nexus stop
User=nexus
Restart=on-abort
[Install]
WantedBy=multi-user.target
此時只要使用以下的指令就可以利用 systemctl 開啟 nexus 與關閉,🍋 爸在這個例子裡面沒有註冊 systemctl 的服務,相反地是直接使用 nexus 提供的指令做開關 /opt/nexus/bin/nexus start。
sudo systemctl enable nexus
sudo systemctl start nexus
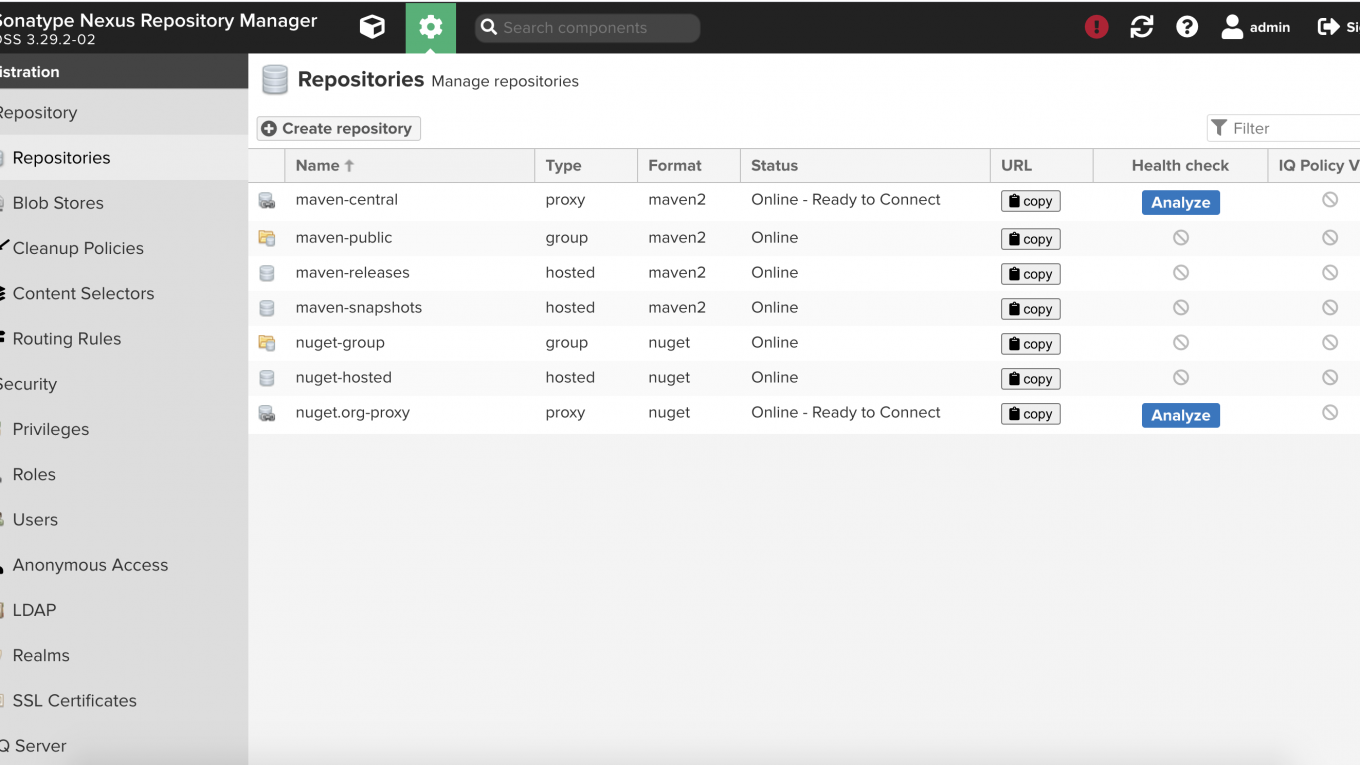
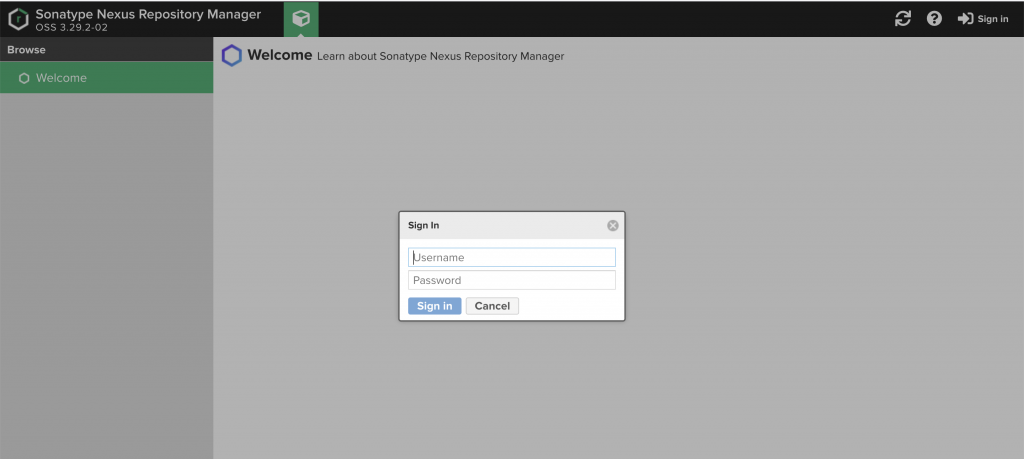
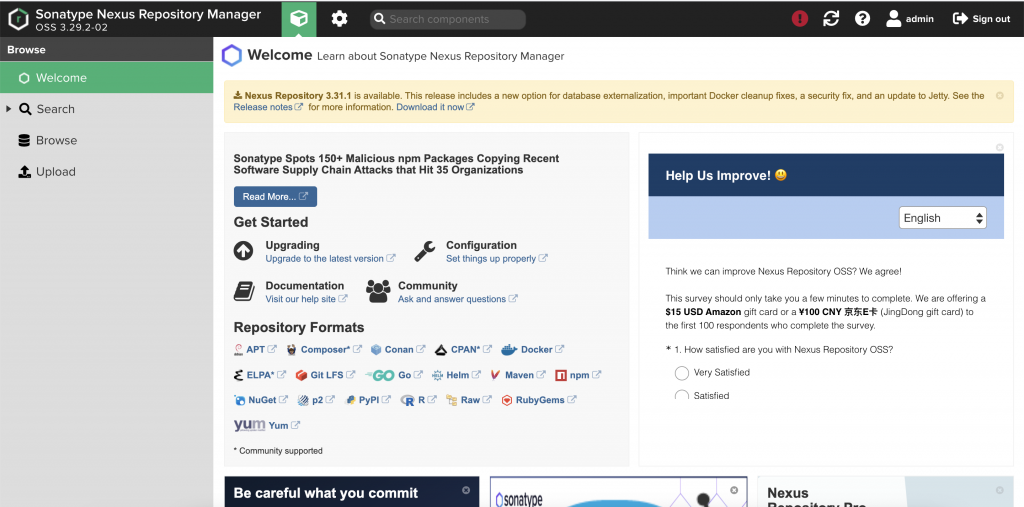
sudo systemctl status nexus成功啟動之後就可以看到 Nexus 的首頁了!
備註:增加 CPU Limit
嘗試在 /opt/nexus/etc/nexus-default.properties 裡面增加 nexus.resources.limits.cpu=4,無法消除紅色驚嘆號!參考之後在 /opt/nexus/bin/nexus.vmoptions 裡面增加 -XX:ActiveProcessorCount=4
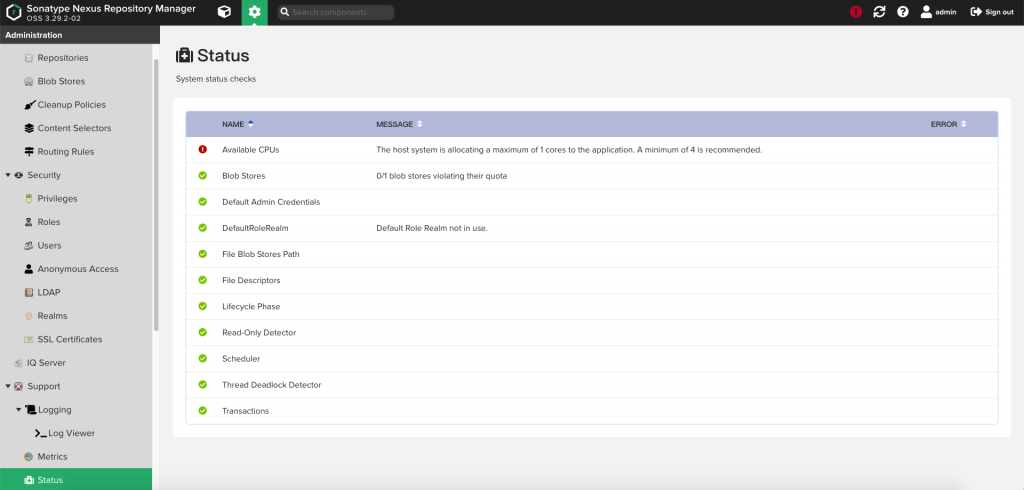
Warning about cpu number 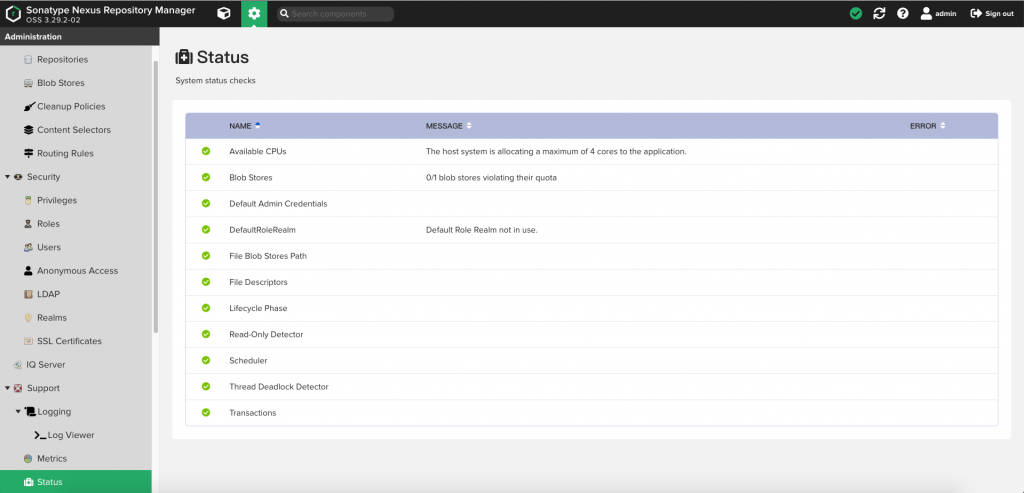
After adjusting VmOption
進階
利用 Azure Blob 當成 Nexus Repository 的存放位置參考資料:
https://github.com/sonatype-nexus-community/nexus-blobstore-azure-cloud
One thought on “[開發] 建立自己的 Nexus Repository”